Start with a readable subject
Choose a photo where the person or object is large enough to recognize at sticker size.
Photo to sticker guide
This guide includes a photo to sticker PNG tool for people making transparent cutouts, with free generation and previews. Sign up for 1 free credit; each downloaded image uses 1 credit.
A strong sticker keeps the subject recognizable, removes the distracting scene, and adds an outline that works across different backgrounds.
Your sticker studio
One photo, separate stickers
This sample becomes five automatic cutouts. Each sticker is a separate transparent PNG, shown here with a purple border.


Person
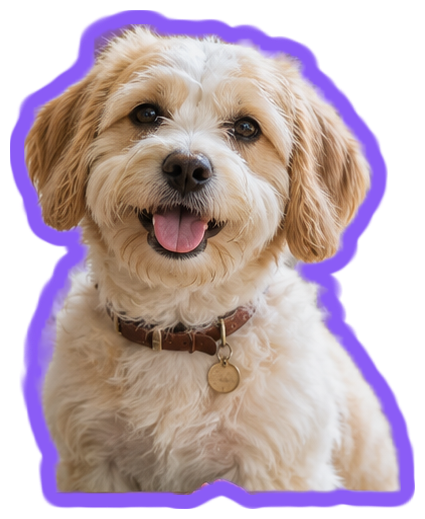
Dog
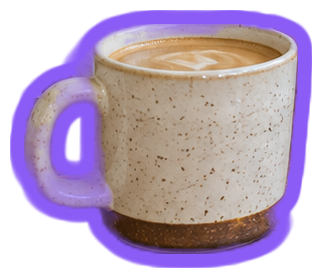
Coffee cup
Plant
Hanging plant
Keep them all
Individual files or one ZIP
Choose a photo where the person or object is large enough to recognize at sticker size.
White is versatile; a brand or theme color can connect a full set.
Transparent PNG is ideal for designs, printing layouts, and digital planners.
Use JPG, PNG, or WebP and select the clearest version available.
Keep the subjects you want. To add another, choose an object yourself, check its preview, and select Create sticker.
Watch your stickers update as you change the border. Choose PNG image, then download one result or the set.
Choose a photo with a visible face or a clear object shape. A close, well-lit subject usually reads better at sticker size than a small detail in a crowded scene. Upload the original photo rather than a screenshot of a screenshot to keep useful detail.
The automatic pass creates separate cutouts for common subjects. Remove results you do not want. To add a missed subject, choose an object yourself, click inside it, check the preview, then select Create sticker. Standard is a good starting point; High quality gives you another option for a difficult cutout.
Use a thin edge when fine detail matters, or a thicker white edge for small chat stickers and busy planner pages. Color and thickness update the whole set immediately. Set thickness to 0 when you want a plain cutout, then download PNG to keep the background transparent.
Photo to sticker guide
PNG supports transparent backgrounds and keeps a clean edge around the subject.
Use a thinner outline for detailed artwork and a bolder outline when the sticker will appear small in chats.
Yes. Choose Download all to save one ZIP containing your finished stickers as separate PNG or WebP files. The ZIP uses 1 credit per image inside, and the total is shown before downloading.
Yes. Change Border thickness or Border color and all your sticker previews update immediately. Downloads keep the style you see. Set thickness to 0 for a cutout without a border.
You can follow this guide, make cutouts, and style borders free without an account. Sign up for 1 free credit to download your first PNG. Each image download uses 1 credit.
Start with a JPG, PNG, or WebP image up to 25 MB. A photo with a clear, well-lit subject is easier to recognize when used as a small sticker.
The tool finds common subjects automatically after you add the photo. You can then keep the results you want or choose an object yourself to add another subject.
Add the transparent PNG and its artwork becomes one sticker ready for a border. Adjust Border color and Border thickness, then download the finished PNG.
Choose an object yourself, click inside that subject, and select Create sticker after checking the preview. Adjust selection lets you include or exclude areas before creating it.
Choose WhatsApp sticker when you want a transparent 512 × 512 WebP image for a sticker app. Choose PNG image for designs, collages, and planner pages.
The photo is processed in your browser on your device. Your photo file is not sent to a server to create the sticker.